Having a properly prepared atomiser coil is vital if you want smooth, delicious tasting vapour. If a coil is not primed, your coil could burn out prematurely and leave your vapour with a nasty burnt taste. Once a coil is burned, it needs to be replaced, meaning you will have to spend more money on coils. Repeated and prolonged use of burned coils can also end up damaging your e-cigarette. That is why it is so important to break in your vape coils correctly.
Luckily, priming a vape coil is as easy as pie! With our Guide to Prime Coils, you will be an expert at priming vape coils in no time.
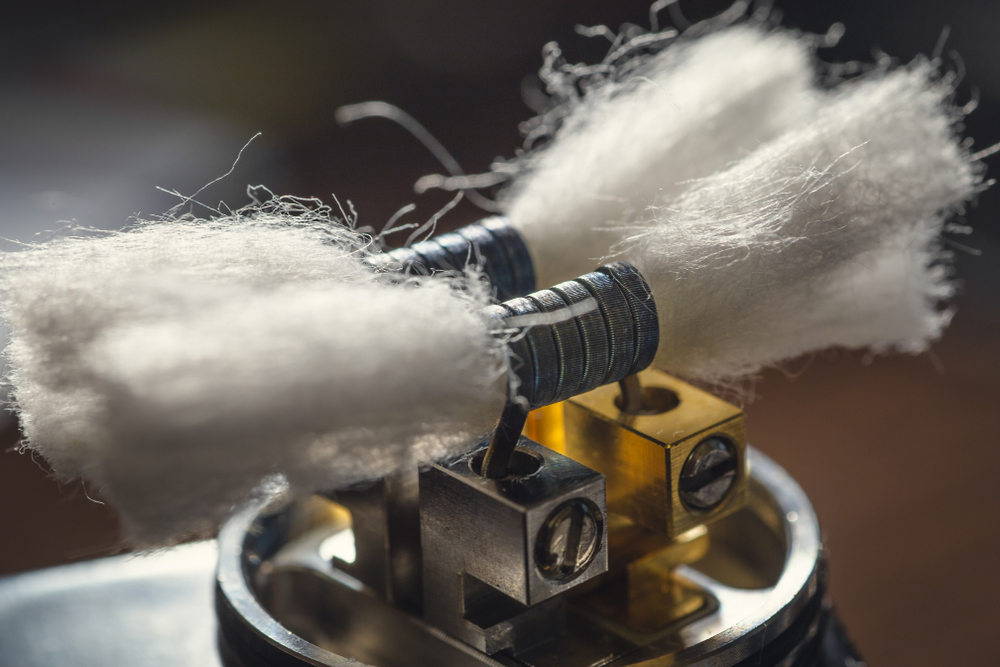
What is a Vape Coil?
Inside your atomiser is a key part of your device: the vape coil. It is usually cylindrical in shape and contains a wick inside that soaks up your e-liquid. When your vape heats up, the liquid in the wick heats up and creates the vapour you inhale. If your wick is too dry, it will create foul, burnt tasting vapour.
The most common types of vape coils are sub-ohm and MTL vape coils. Always check that your coils work with your device and e-liquid to avoid damaging your e-cigarette.
How to Prime a Vape Coil
Priming vape coils is an easy and quick process. Look for the holes on your coils: this is how you get to the wicking. Place a couple of drops into each hole and let the coil sit for at least ten minutes. Once you put the coil inside your tank, fill it with e-liquid and let it sit for a few minutes more to let the e-liquid fully saturate the wick.
You do not have to break in MTL vape coils with drops of e-liquid, but it doesn’t hurt to do so. If you opt not to prime the coil this way, just be sure to let the coil sit for at least 5-10 minutes in a tank filled with e-liquid.
Vape Guru is your one-stop-shop for the best e-cigarettes, atomiser coils, and everything else you need to vape.